
As the largest organ of the body, the skin is a blank canvas absorbing the products of our environment, from sunrays to moisture to nutrients. What we put on our skin eventually is absorbed into our system so opting for organic, all-natural soaps and shampoos ensures the safety of our skin and overall health. Equally as important, the harsh chemicals or the abundance of plastic that is in most commercially made soap, is not only harmful to our skin but the environment.

Highly moisturizing and free from harmful chemicals, all-organic soaps protect your natural barrier. | Photo Credits: @fabhub_design | Captured by: @justravelynn
We’re on a mission to go zero-waste, starting with the one product that we use on a daily basis. The benefits of making your own soap is knowing where every ingredient comes from and formulating it for what your skin needs. Gift it to family and friends as one of the most thoughtful and naturally beneficial gifts that show you care about their overall appearance and health.


Left & Right: Soap Marble Dish Eowyn | Photo Credits: @fabhub_design | Captured by: @justravelynn
Safety is key so before you start your soap making process, it’s very important you keep these crucial tips in mind:
- Always use gloves, a mask and eye protection when handling lye. When mixing the lye with water, this creates a chemical reaction that heats the water and produces fumes for about 30 seconds to a minute. It may even cause slight irritation in your throat, but don’t worry this will only last a few minutes. Remember, always add lye to water, not the other way around, and begin stirring right away – don’t let it clump on the bottom or it may heat up and cause an explosion. And be sure to work in a well-ventilated area or outdoors.
- Use exact measurements for each ingredient (as stated below).
- Lye seems like a dangerous ingredient to work with but after it reacts with the oils in the soap, no lye will remain in the finished soap bar.
- Never use any equipment you normally would use for daily cooking. Stainless steel or glass bowls are the preferred option. Don’t use regular plastic, copper or aluminum or it will react to the lye. Styrene plastic or silicone spoons are preferred for mixing.
- After you’ve finished the entire process, leave your equipment out for a few days before cleaning. The residual lye could burn your hands and if you just wait, it becomes soap and soaking it with hot water will clean it right off.


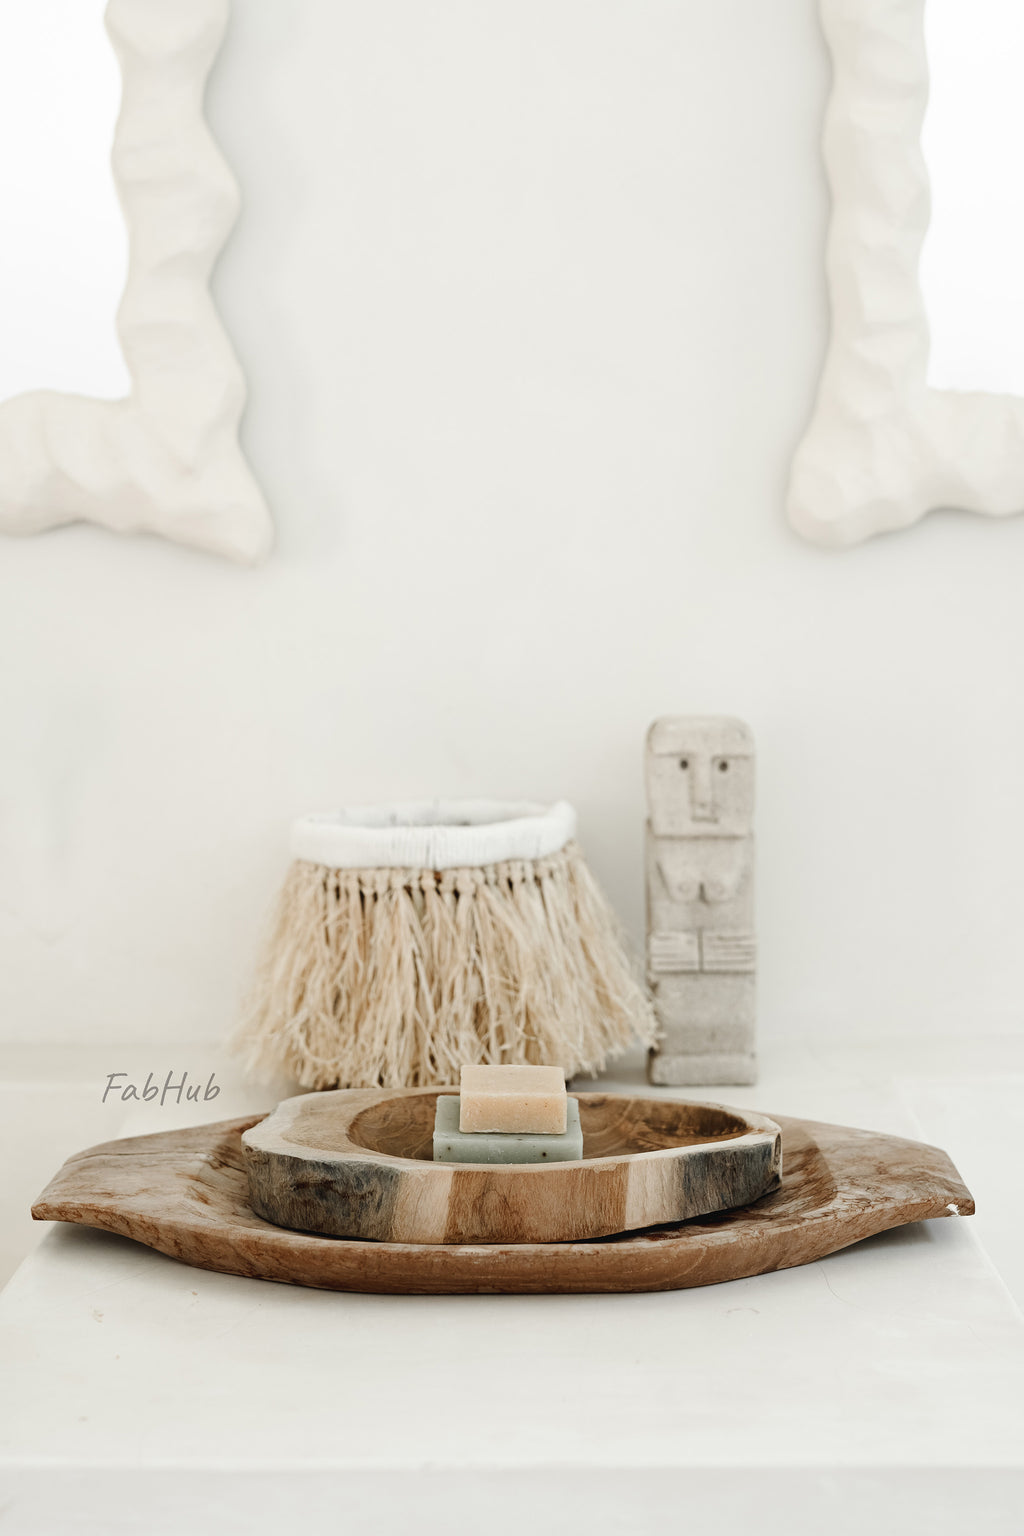
Left: Reclaimed Teak Soap Holder Emmet | Right: Teak Root Soap Holder Atreyu | Photo Credits: @fabhub_design | Captured by: @justravelynn
Prep Time: 15 mins
Active Time: 45 mins
Cooling Time: 1-2 days
Time until use: 3 weeks
Produces around 2 pounds of soap which is about 6-7 bars of natural soap.
Equipment
- Silicone soap mold
- Silicone baking pan
- Stainless steel thermometer
- Hand blender
- Protective gear – mask, gloves, eye protection
- Styrene plastic or silicone spoon
- Stainless steel or glass bowl
Ingredients
- 200 grams of unrefined Shea Butter
- 200 grams of Jojoa oil (can replace with olive oil if you’re not allergic and doesn’t give you a skin reaction)
- 200 grams of Almond oil (can also use chia oil)
- 86 grams of Lye (100% sodium hydroxide)
- 228 grams of cool distilled water
- 100 drops (or 20-36 grams) in total of essential oil of your choice (we recommend Rosemary, Sage, Sandalwood, Cedar, Geranium, Rose, or Palma Rosa)
Instructions
- Completely cover your workspace with newspapers or an old bed sheet. Put on your protective gear and bring out your spoon and 2 bowls. Measure out the water and lye, making sure they are separate until you are ready to mix. Slowly sprinkle the lye into the water, and immediately start stirring gently. You will start to see fumes so stand back and avoid breathing it in. The lye is currently heating so once completely dissolved, you can put this mixture to the side to cool down a little.
- In a separate glass bowl, add your Shea Butter, Jojoa Oil, and Almond Oil (or if you prefer olive oil or chia oil). Heat them over a double boiler until the oil is 120°F / 49°C.
- Wait until both your oil mixture and water/lye mixture are cooled between 95°F-105°F / 35°C-40.5°C. Now that they are at the right temperature, pour the oils into a mixing bowl and slowly add the lye to it, immediately hand stirring clockwise for about 5 minutes. After 5 minutes, go ahead and use a hand blender for about a minute to make sure the mixture has the consistency of vanilla pudding.
- Add your essential oils and stir in thoroughly. Pour the mixture into a mold and cover with plastic wrap. Wrap this all up in an old towel or blanket so the residual heat can start the actual soap making chemical process.
- Peek at your soap every so often. If it’s developing a crack down the middle, move it to a cooler place in the house. After 24 hours, check your soap. If it’s still warm or soft, let it sit out for another 12-24 hours. When it’s cold and firm, they’re ready to be taken out of their mold or cut into bars if you used a loaf pan.
- Let the soap bars air dry for about 3 weeks until use, turning them over every so often. This timing is necessary for the excess water to evaporate and to leave the soap harder and longer lasting.
- 3 weeks later and your soaps are perfectly ready to use and gift away. For some great zero-waste gift wrapping tips and techniques, check out our previous blog here.
To make liquid soap: Make the solid soap bars first and add it to a plastic container with water. Wait for about a week or two and it will become a gel substance. Mix this with more water and it will become liquid.
 No chemicals in your soap means no chemicals down the drain. Help the environment by reducing your chemical use in your daily beauty routine. | Photo Credits: @fabhub_design | Captured by: @justravelynn
As a personal touch, we also like to add some dried herbs & flowers or even coffee grinds (which helps with cellulite) into the soap mixture. The limits are boundless so enjoy the process and benefits of DIY organic products.
Haggie ♡
0 comments